You have the laptop, the projector is powered on, but the screen remains stubbornly blank. A failed connection usually comes down to a mismatched input setting or an operating system hiding its display options.
Getting your laptop screen onto the wall or screen takes under a minute when you know exactly which settings to adjust. This guide provides the direct steps to establish a reliable wired or wireless connection across both Windows and Mac operating systems, alongside the immediate fixes for the "No Signal" error.
The Fastest Setup: Connecting via HDMI or USB-C
A physical cable remains the most reliable way to connect a laptop to a projector. It eliminates network lag, prevents video buffering, and handles both high-resolution video and audio simultaneously.
Selecting the Right Cable and Adapters
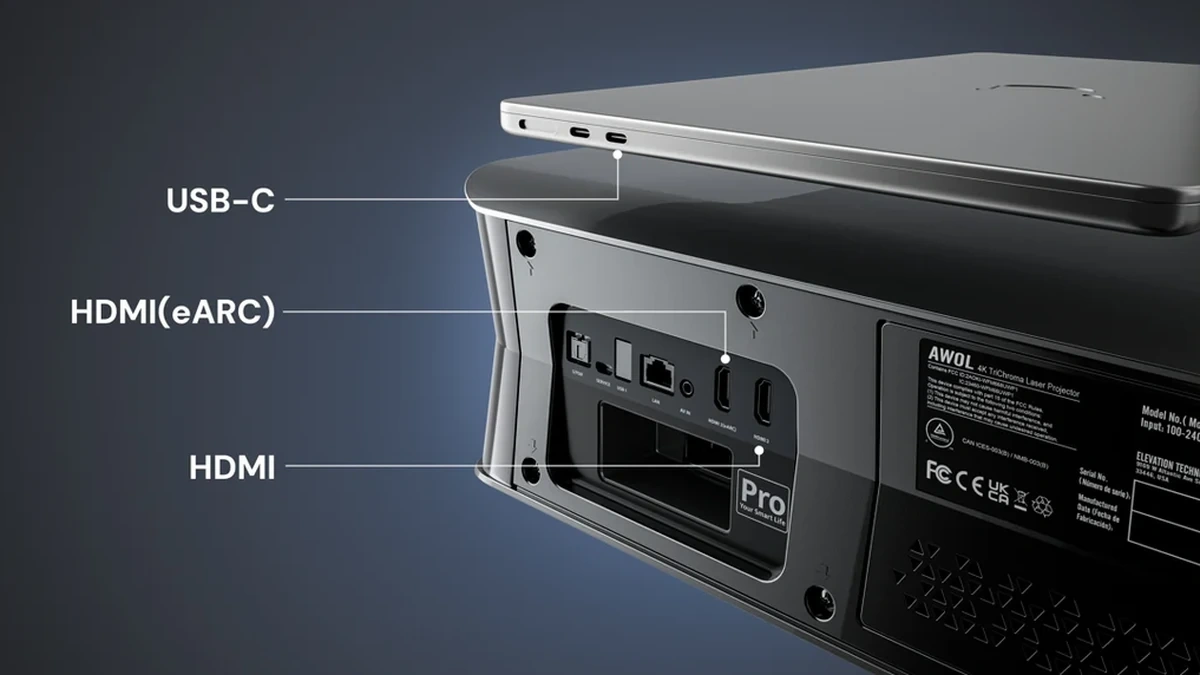
Before altering your software settings, verify your hardware connection. Most modern projectors use HDMI as the standard input, but laptops vary widely.
| Laptop Port Available | Cable / Adapter Required | Best Use Case |
|---|---|---|
| HDMI | Standard HDMI to HDMI cable | Direct, high-bandwidth connection (4K video and gaming) |
| USB-C (Thunderbolt) | USB-C to HDMI adapter + HDMI cable | Modern MacBooks and ultra-thin Windows laptops |
| DisplayPort / Mini DisplayPort | DisplayPort to HDMI cable or adapter | High-refresh-rate gaming laptops and older MacBooks |
Windows Laptops: How to Duplicate or Extend Your Screen
Once the cable is securely plugged into both devices, Windows requires you to dictate how the second screen should behave.
- Press the Windows Key + P simultaneously. This opens the "Project" menu on the right side of your screen.
- Select your preferred display mode:
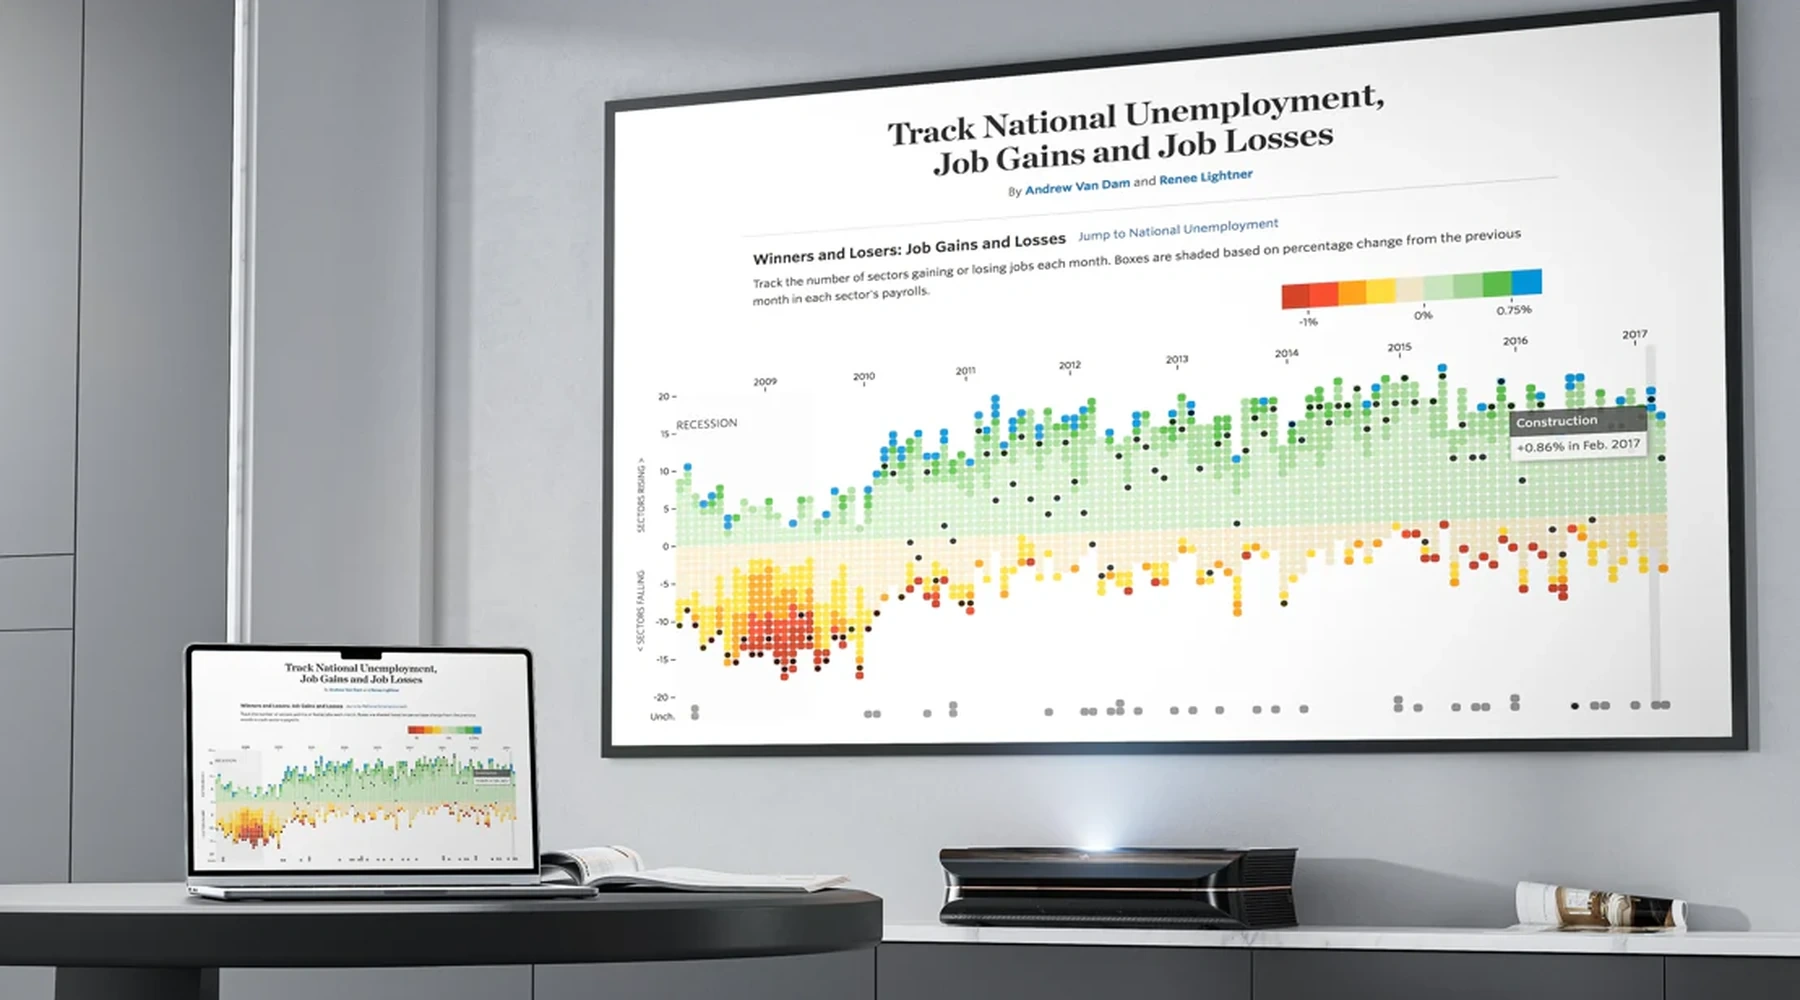
- Duplicate: Mirrors your laptop screen exactly. Ideal for presentations or showing a specific application.
- Extend: Turns the projector into a second monitor. You can drag a movie player onto the projector screen while keeping your email open on your laptop screen.
- Second screen only: Turns off your laptop display and routes all video to the projector.
- If the image is distorted, go to Settings > System > Display and adjust the "Display resolution" to match your projector’s native output (e.g., 3840 x 2160 for 4K).
MacBooks: How to Configure Display Output
macOS handles external displays through the Control Centre.
- Connect your MacBook to the projector (using a USB-C hub or adapter if necessary).
- Click the Apple Menu () in the top-left corner and select System Settings.
- Scroll down and click Displays.
- The projector should appear as a secondary display. Click on its icon.
- In the "Use as" dropdown menu, choose either Main display, Extended display, or Mirror for Built-in Display.
How to Connect a Laptop to a Projector Wirelessly
Wireless casting removes cable clutter and allows you to control the projector from anywhere in the room. However, both devices must be connected to the exact same Wi-Fi network for these protocols to work.
Windows to Projector via Miracast
Most modern projectors support Miracast, the native wireless casting protocol for Windows.
- Turn on the projector and navigate to its Screen Mirroring or Wireless Input menu.
- On your Windows laptop, press the Windows Key + K to open the "Cast" menu.
- Select your projector from the list of available devices.
- Follow any on-screen PIN prompts to authenticate the connection.
Mac to Projector via Apple AirPlay
If your projector supports Apple AirPlay, connecting a MacBook takes two clicks.
- Ensure the MacBook and the projector are on the same Wi-Fi network.
- Click the Control Centre icon (two toggle switches) in the top-right menu bar of your Mac.
- Click Screen Mirroring.
- Select your projector from the dropdown list.
Connecting via Built-in Smart OS or Chromecast
If your projector runs on an integrated smart system, wireless casting is often handled via Chromecast. Open the Google Chrome browser on your laptop, click the three-dot menu in the top right, select Cast, and choose your projector.
Troubleshooting Common Projector Connection Issues
Troubleshooting Common Projector Connection Issues
Why Is My Laptop Not Showing Up on the Projector?
The "No Signal" screen means the projector is looking for data in the wrong place.
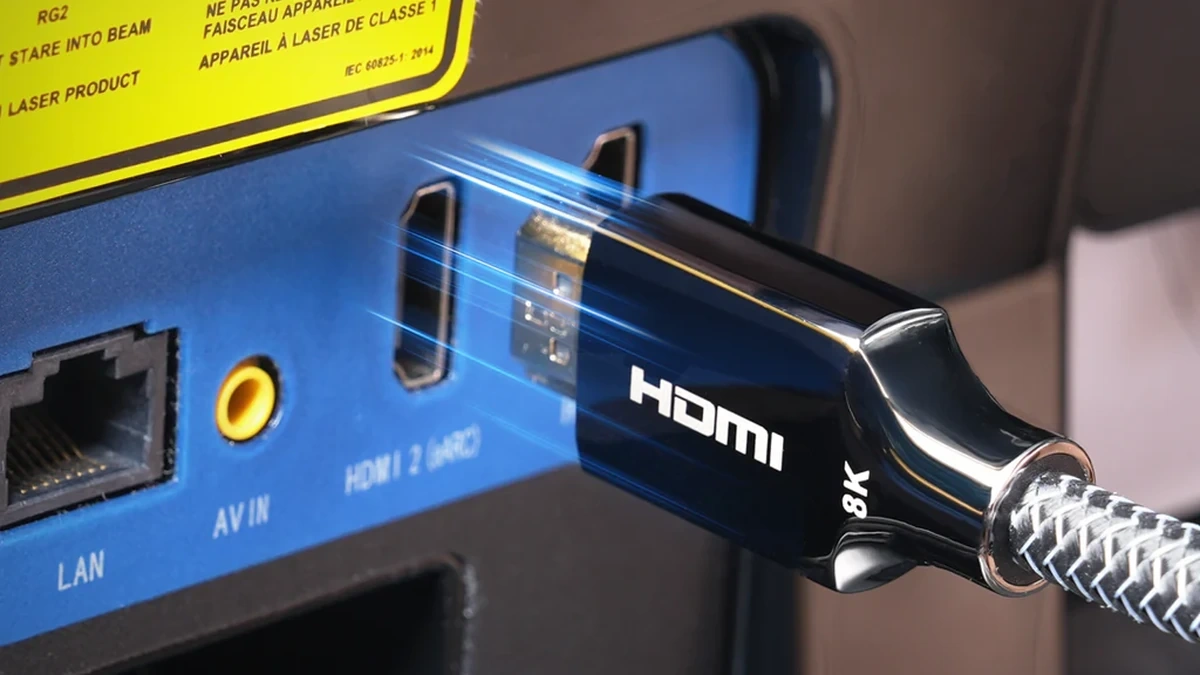
- Check the Input Source: Projectors do not always auto-detect active cables. Use the projector’s remote to cycle the "Source" or "Input" button to the exact port you plugged into (e.g., HDMI 2).
- Bypass Faulty Adapters: Cheap USB-C hubs often fail to carry high-bandwidth video signals. If you are using a multi-port hub, try a direct USB-C to HDMI adapter instead.
- Force Display Detection: On Windows, go to Settings > System > Display > Multiple displays and click Detect. On Mac, hold the Option key while in the Displays menu to reveal a hidden "Detect Displays" button.
How to Fix Audio Playing From the Laptop Instead of the Projector
Video often routes to the projector successfully while the audio remains trapped in the laptop's built-in speakers. You must manually route the audio output.
- On Windows: Click the speaker icon in the bottom-right taskbar. Click the arrow next to the volume slider and select your projector (or the AV receiver it is plugged into) as the playback device.
- On Mac: Go to System Settings > Sound > Output, and select the projector from the list of devices.
How Premium Projectors Eliminate Setup Friction
The complexity of connecting a laptop often stems from older hardware lacking adequate port bandwidth or relying on unstable casting protocols. Modern home cinema devices engineer these bottlenecks out of the hardware.
For users building high-end viewing environments, a device like the AWOL Vision Aetherion Max handles connectivity entirely differently. Rather than relying on a single input, it features three high-bandwidth HDMI 2.1 ports and a dedicated DisplayPort, meaning gaming laptops, consoles, and AV receivers can remain permanently connected without cable swapping. Furthermore, because it integrates Wi-Fi 7 and native Google TV, the need to connect a laptop for streaming content or wireless casting is largely bypassed—the processing power and applications are already built into the projector itself.
Frequently Asked Questions (FAQ)
How do I show my screen on a projector?
Connect the two devices via an HDMI cable. On Windows, press the Windows Key + P and select "Duplicate." On a Mac, navigate to System Settings > Displays and select "Mirror for Built-in Display." The image will appear within seconds of assigning this software command.
Can I connect a laptop to a projector without HDMI?
Yes. You can connect physically using a USB-C to DisplayPort cable if your hardware supports it, or wirelessly using network casting protocols like Miracast (Windows) or AirPlay (macOS) if your projector and laptop share the same Wi-Fi network.
Why does my projector say "No Signal" when plugged in?
This indicates the projector's active input channel does not match the physical port your cable is plugged into. Use the projector remote to change the input source (e.g., switching from HDMI 1 to HDMI 2). If the source is correct, the laptop’s display settings are likely disabled and need to be set to "Duplicate" or "Extend."